
Osaka-Kyoto-Takayama-Nagoya in 5 Day itinerary
Approximate reading time: 18-20 minutes

This place is Dotonbori in Osaka, Japan, specifically featuring the iconic Dotonbori Glico Sign.
Table of contents
Introduction
Disclaimers
Explore Osaka & Beyond in 5 Days
Day 1: Arrival & Dohtonbori
(Kansai Airport → Hotel → Dohtonbori → Dinner)
Day 2: Temples & Thrift Shopping
(Hotel → Shitenno-ji Temple → Shinsaibashi → Nitori)
Day 3: Kobe & Kyoto
(Hotel → Kobe Beef → Fushimi Inari → Toji Temple → Hotel)
Day 4: Kanazawa & Shirakawa-go
(Hotel → Kanazawa Market → Kenrokuen Garden → Shirakawa-go → Takayama Hotel → Dinner)
Day 5: Pasalubong Shopping & Departure
(Nagoya → Don Quijote → Bic Camera → Airport)
Quick Tips
Local SIM card
Train tickets (link to the transpo guide)
KIX to Osaka/Kyoto
Nankai Express Train
JR Haruka / Hello Kitty Haruka
Hokuriku-Takayama Pass
ICOCA
Ending Notes
Looking for the best travel hacks?
Introduction

Kyoto Japan
Patrice Averilla
“Since I’ve been traveling solo for so long, I usually miss out on family trips. Thankfully, I was able to free my schedule last May 2023 when my parents decided to go on a trip to Japan with all of us! It’s been a while, and our parents are also older than they were on our last trip, so it definitely took some adjusting of the itinerary to make it work.
Tourists visiting Japan – both first-timers and frequent visitors alike – often have a fondness for Osaka and Kyoto, but miss out on less crowded areas nearby. In this article, we discover the hot spots of the Kansai area and the quiet but nonetheless charming countryside of Takayama in the Hokuriku Area.
So, if you’re looking for a family-friendly itinerary while maximizing your 5 days in Japan, keep reading to see if this plan works for you!”
Disclaimers
Details including but not limited to operating hours and price may change. This article will contain affiliate links, which will come at no cost to you for clicking.
Want a simple way to stay covered while traveling?
Another way to ensure your safety could be by updating or signing up for travel insurance which you can easily do with Safety Wing. With Safety Wing you can travel and take those spontaneous adventures confidently knowing that you can rest assured with a possible backup plan in case things go sideways.
 Get Travel Insurance Here
Day 1
Take the Nankai Express from Kansai International Airport to Osaka-Namba

Of course, the first step is always the best: landing in Japan! Our immigration experience is always smooth, which makes it a joy to be at the airport.
Known for its efficient railway system, it comes as no surprise that booking your transportation from the Kansai International Airport to the heart of the city is so easy. We bought our tickets through Klook so that we can just show our voucher’s QR code upon arrival.
Check-in at your hotel
Mid range
R Hotel Namba


Image courtesy of “ R Hotel Namba " All rights reserved to the original owners
Book Here : Link to Booking page
This is a little far from Dohtonbori, but this is exactly why the hotel is more affordable. The room is spacious enough, and amenities like toothbrushes, soap and shampoo are provided for you. This place is perfect for families, solo travelers, and couples.
The Ritz-Carlton Osaka


Image courtesy of “ The Ritz-Carlton Osaka " All rights reserved to the original owners
Book Here : Link to Booking page
Want to visit the Philippines?
Are you ready to enter a tropical paradise? Book that much deserved beach vacation and skip the hassle of planning with Dream Philippines Tours. We’ll make sure that you get the very best beach experience wherever you choose to go. Dream Philippines Tours connects you to nothing but the best accommodations, services, and activities. Let Dream Philippines Tours handle all your planning concerns so that all you have to do is sit back, relax, and feel the seabreeze on your skin.


Budget
Guest House mii


Image courtesy of “ Guest House mii " All rights reserved to the original owners
Book Here : Link to Booking page
Candeo Hotels Osaka The Tower


Image courtesy of “ Candeo Hotels Osaka The Tower " All rights reserved to the original owners
Book Here : Link to Booking page
Visit Dohtonbori
Go for a stroll at Dohtonbori, the biggest shopping district in Osaka. From shopping stalls to novelty items to specialty food, everywhere is a good place to start exploring in Dohtonbori!
Spanning approximately 600 meters in length, this area’s fame goes back as far as the Edo Period . Although the aesthetics have certainly changed, Dohtonbori has solidified its place as one of the most visited spots in Osaka and all of Japan.
Like I mentioned, Dohtonbori is packed with food stalls and restaurants you must try. Here, you’ll find fresh seafood, ramen, tanghulu, and of course, the Osaka specialty, takoyaki.
You’ll find pretty much a dozen stalls selling takoyaki by the river and in the outer parts of Dohtonbori, but the one I tried with Martin before was at STALL.

Dotonbori Street, Osaka, Japan
For Y700, you already get 6 pieces of fluffy, seafood goodness with your choice of drink!
One of the viral food featured in most traveling reels you’ve seen is the Y10 cheese pancake. Although the only Y10 aspect of it is the shape, the Y500 price point might seem a little steep for the taste. It’s definitely worth a try for the cheese pull, though! Yum!
If you’re more of a ramen fan, you should definitely try Ichiran at least once in your life – I swear by it! All that rich, creamy goodness in a bowl is one of the reasons why I love going to Japan.
Most of the time though, you might find that the lines just to go inside the restaurant is ridiculous! While I think the waiting time is worth it, it just might not make sense if you’re on a tight schedule. In that case, explore other options for ramen in the area; you’ll surely find a good one.
True enough, after some walking, I was able to find this underrated, local gem: Ramen Hanamaruken. Watch out for the sign, because it’s only in Japanese!
This is definitely a good alternative to Ichiran when the lines get too long, because the vibe of the place is so cozy! It’s less crowded with no line, plus it’s way cheaper than a bowl of the same tonkotsu ramen at Ichiran.
To cap your trip at Dohtonbori, you shouldn’t forget your picture with the Glico man – because did you even go to Osaka if you didn’t pose like the 50 foot LED man?
My tip to getting a better picture is by taking it on the dock opposite to the Glico sign. Most people take this on the bridge which makes for a great view, but it can just get too crowded. This way, you have a less obstructed view of the running man.
Dinner at Izakaya
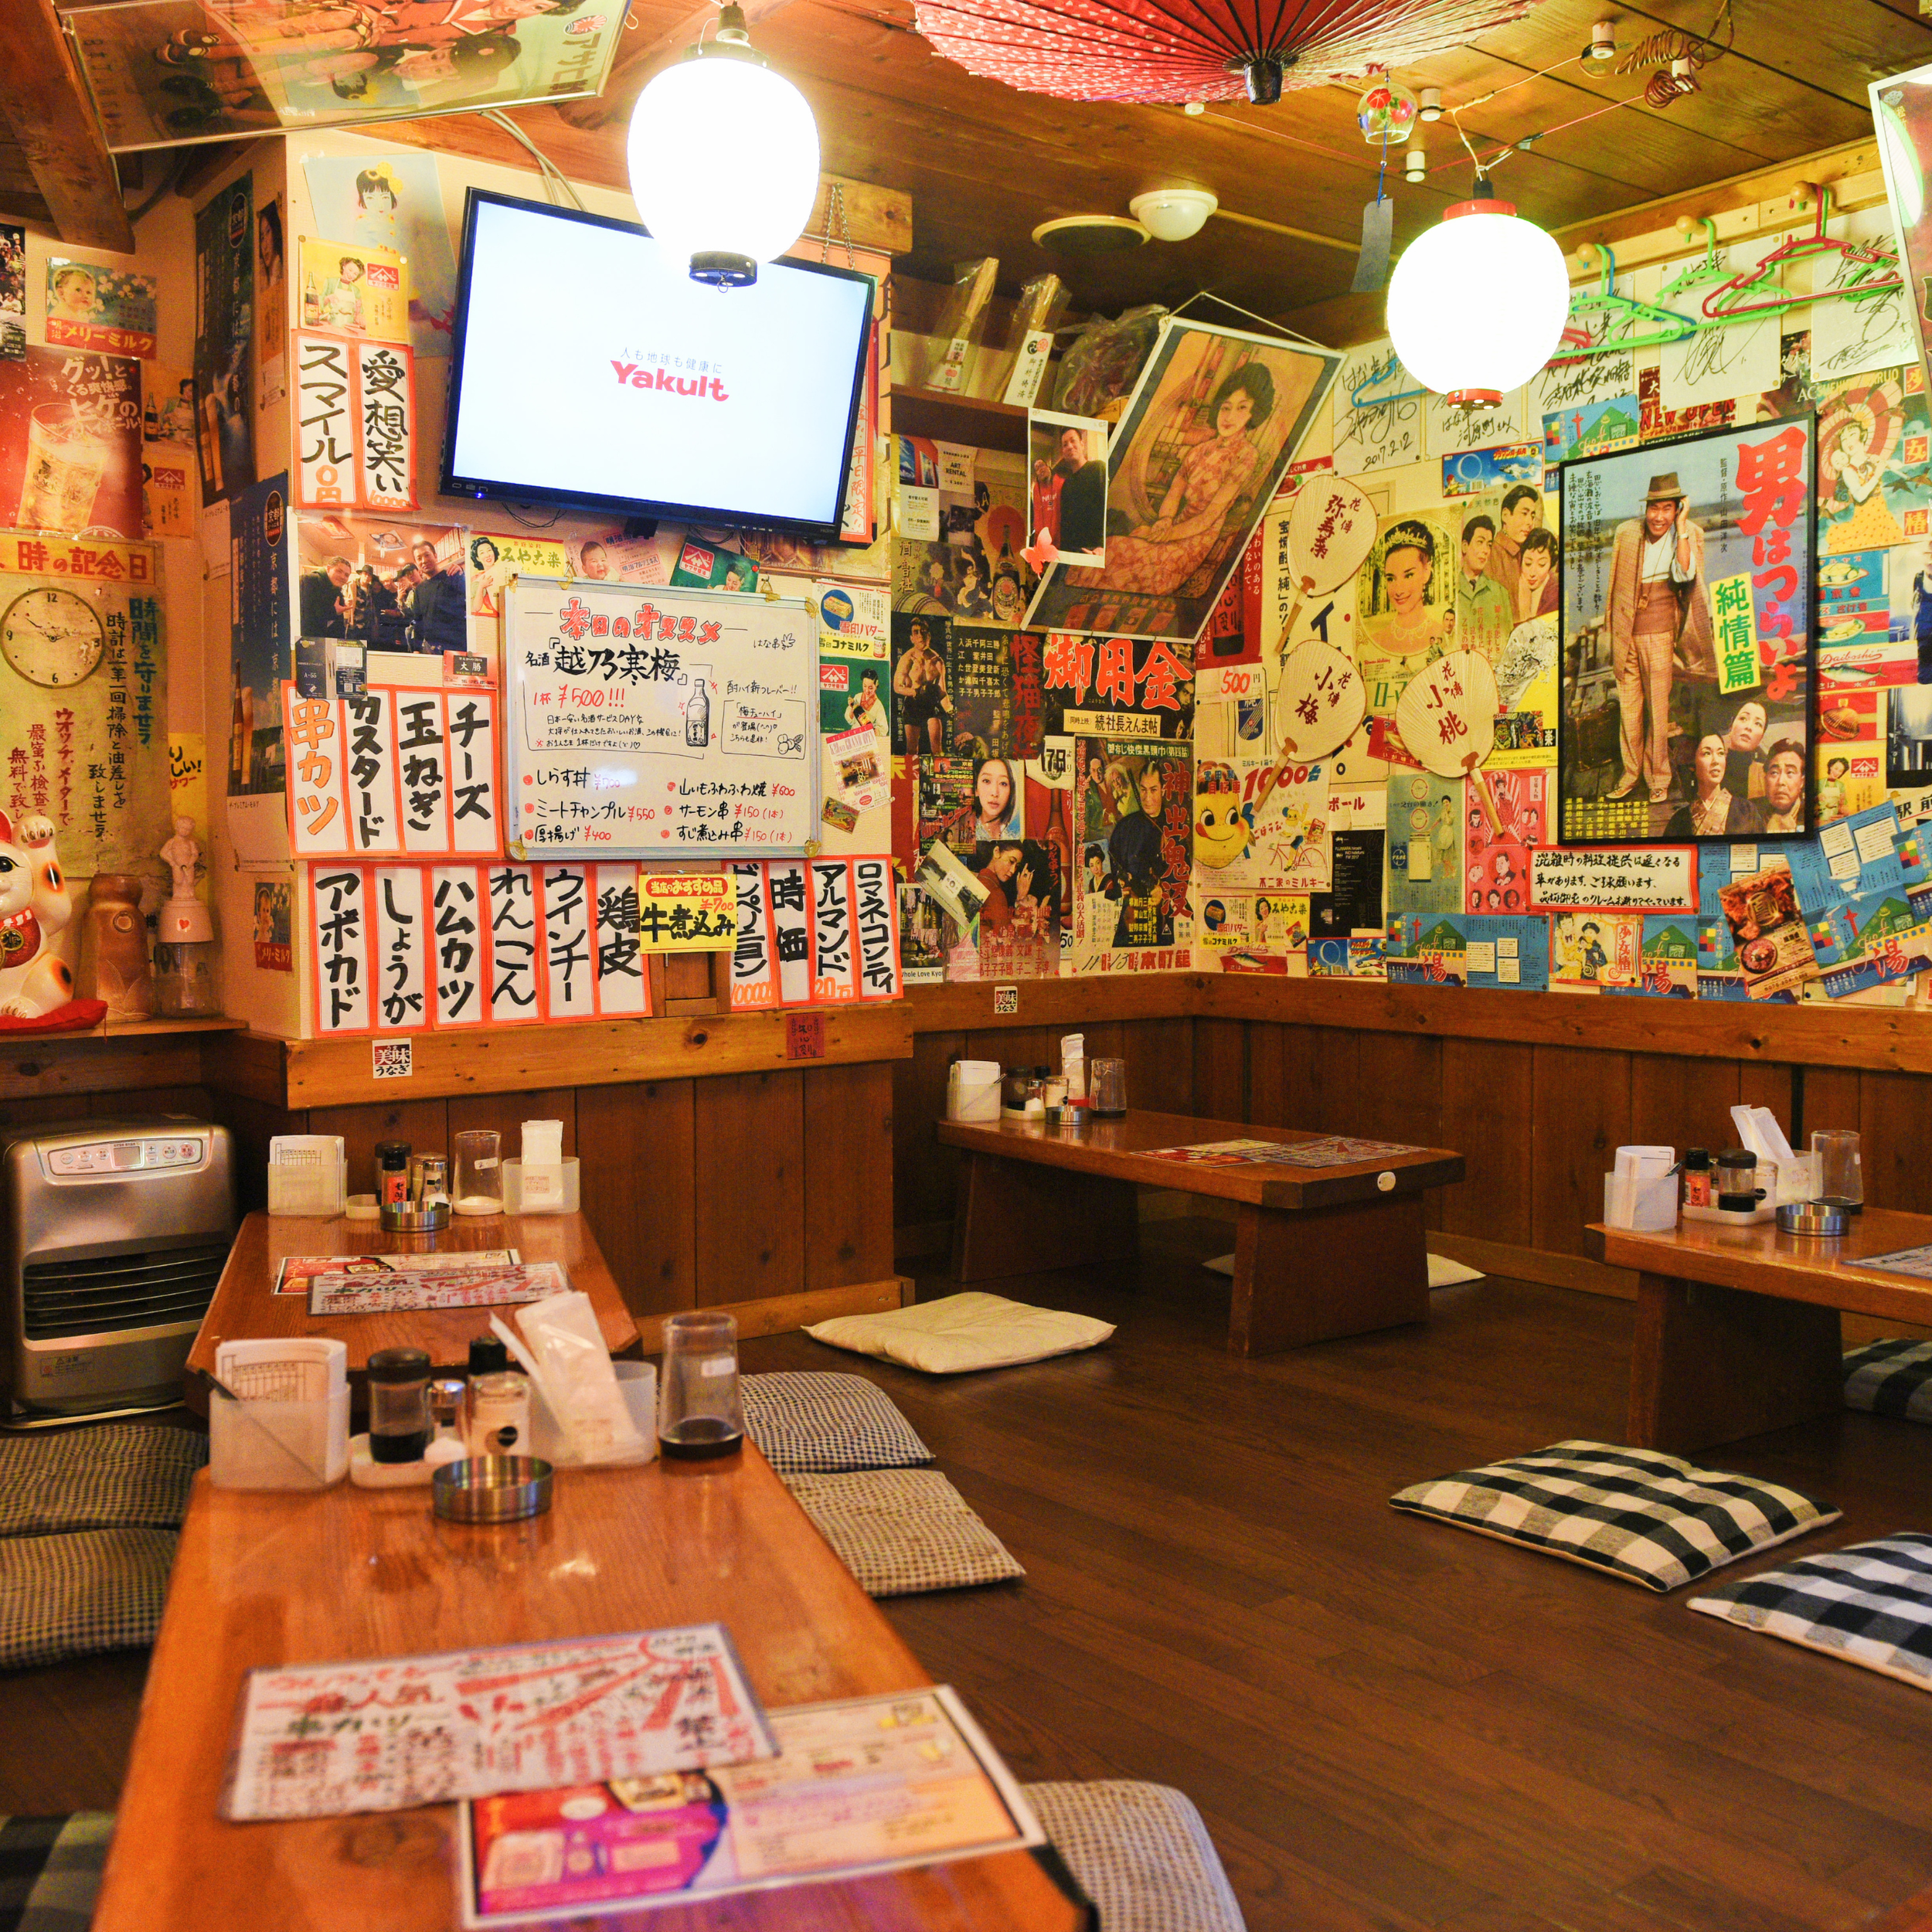
After strolling around some more, you’ll eventually get tired. Filipinos like me especially aren’t that used to walkable cities, so it makes you want to crave something yummy for an energizer! And there’s nothing more lively than an izakaya.
An izakaya is actually a bar that typically serves mostly alcohol with some snacks and food. So if you’re traveling with children, you can maybe try Yoshinoya or Mos Burger instead. Some izakayas also allow smoking, so check for this before entering the restaurant.
The one I ate at is an izakaya in Chuo ward, where the owner and waitresses were kind enough to recommend dishes and sightseeing spots to me using a translator device. Japan’s politeness and hospitality never misses!
Of course, I had to try the sushi. I usually get salmon sashimi and call it a day, but I was able to try seahorse mackerel and seabream sashimi for the first time as recommended by the chef. When I tell you the fish melted in my mouth, I’m not exaggerating! The taste was so fresh with no fishy aftertaste. It was magic. My experience here was definitely a 10/10.
Uncover Osaka’s Hidden Soul
From neon madness to mochi alleys, this tour blends food, history, temples, and pure weird Japan.
Starts at just $36 per person.
 BOOK OSAKA TOUR HERE
Day 2
Shitenno-ji Temple

Shitenno-ji Temple in Japan
Starting off with something near the hotel, the Shitenno-ji temple was one of the spots recommended to me. I was so glad I went, because there were not many tourists! It was more populated with locals, so you can really feel the closeness of this temple to Japanese culture. I think I got lucky, because Shitenno-ji temple is apparently usually crowded.
It’s more peaceful than the crowd at Osaka castle, making for an underrated and quiet visit.
There’s a Y300 entrance fee to go inside the pagoda, and the temple grounds are open until 4:30. There is also a subway station nearby for convenience.
Shinsaibashi

Shinsaibashi, Osaka
I can’t believe this was gatekept from me for so long – with good reason! I can say that the land of the thrift stores of Japan is in Shinsaibashi, Osaka. The streets and alleys are lined with secondhand shops that look so well-maintained, carefully curated and chic.
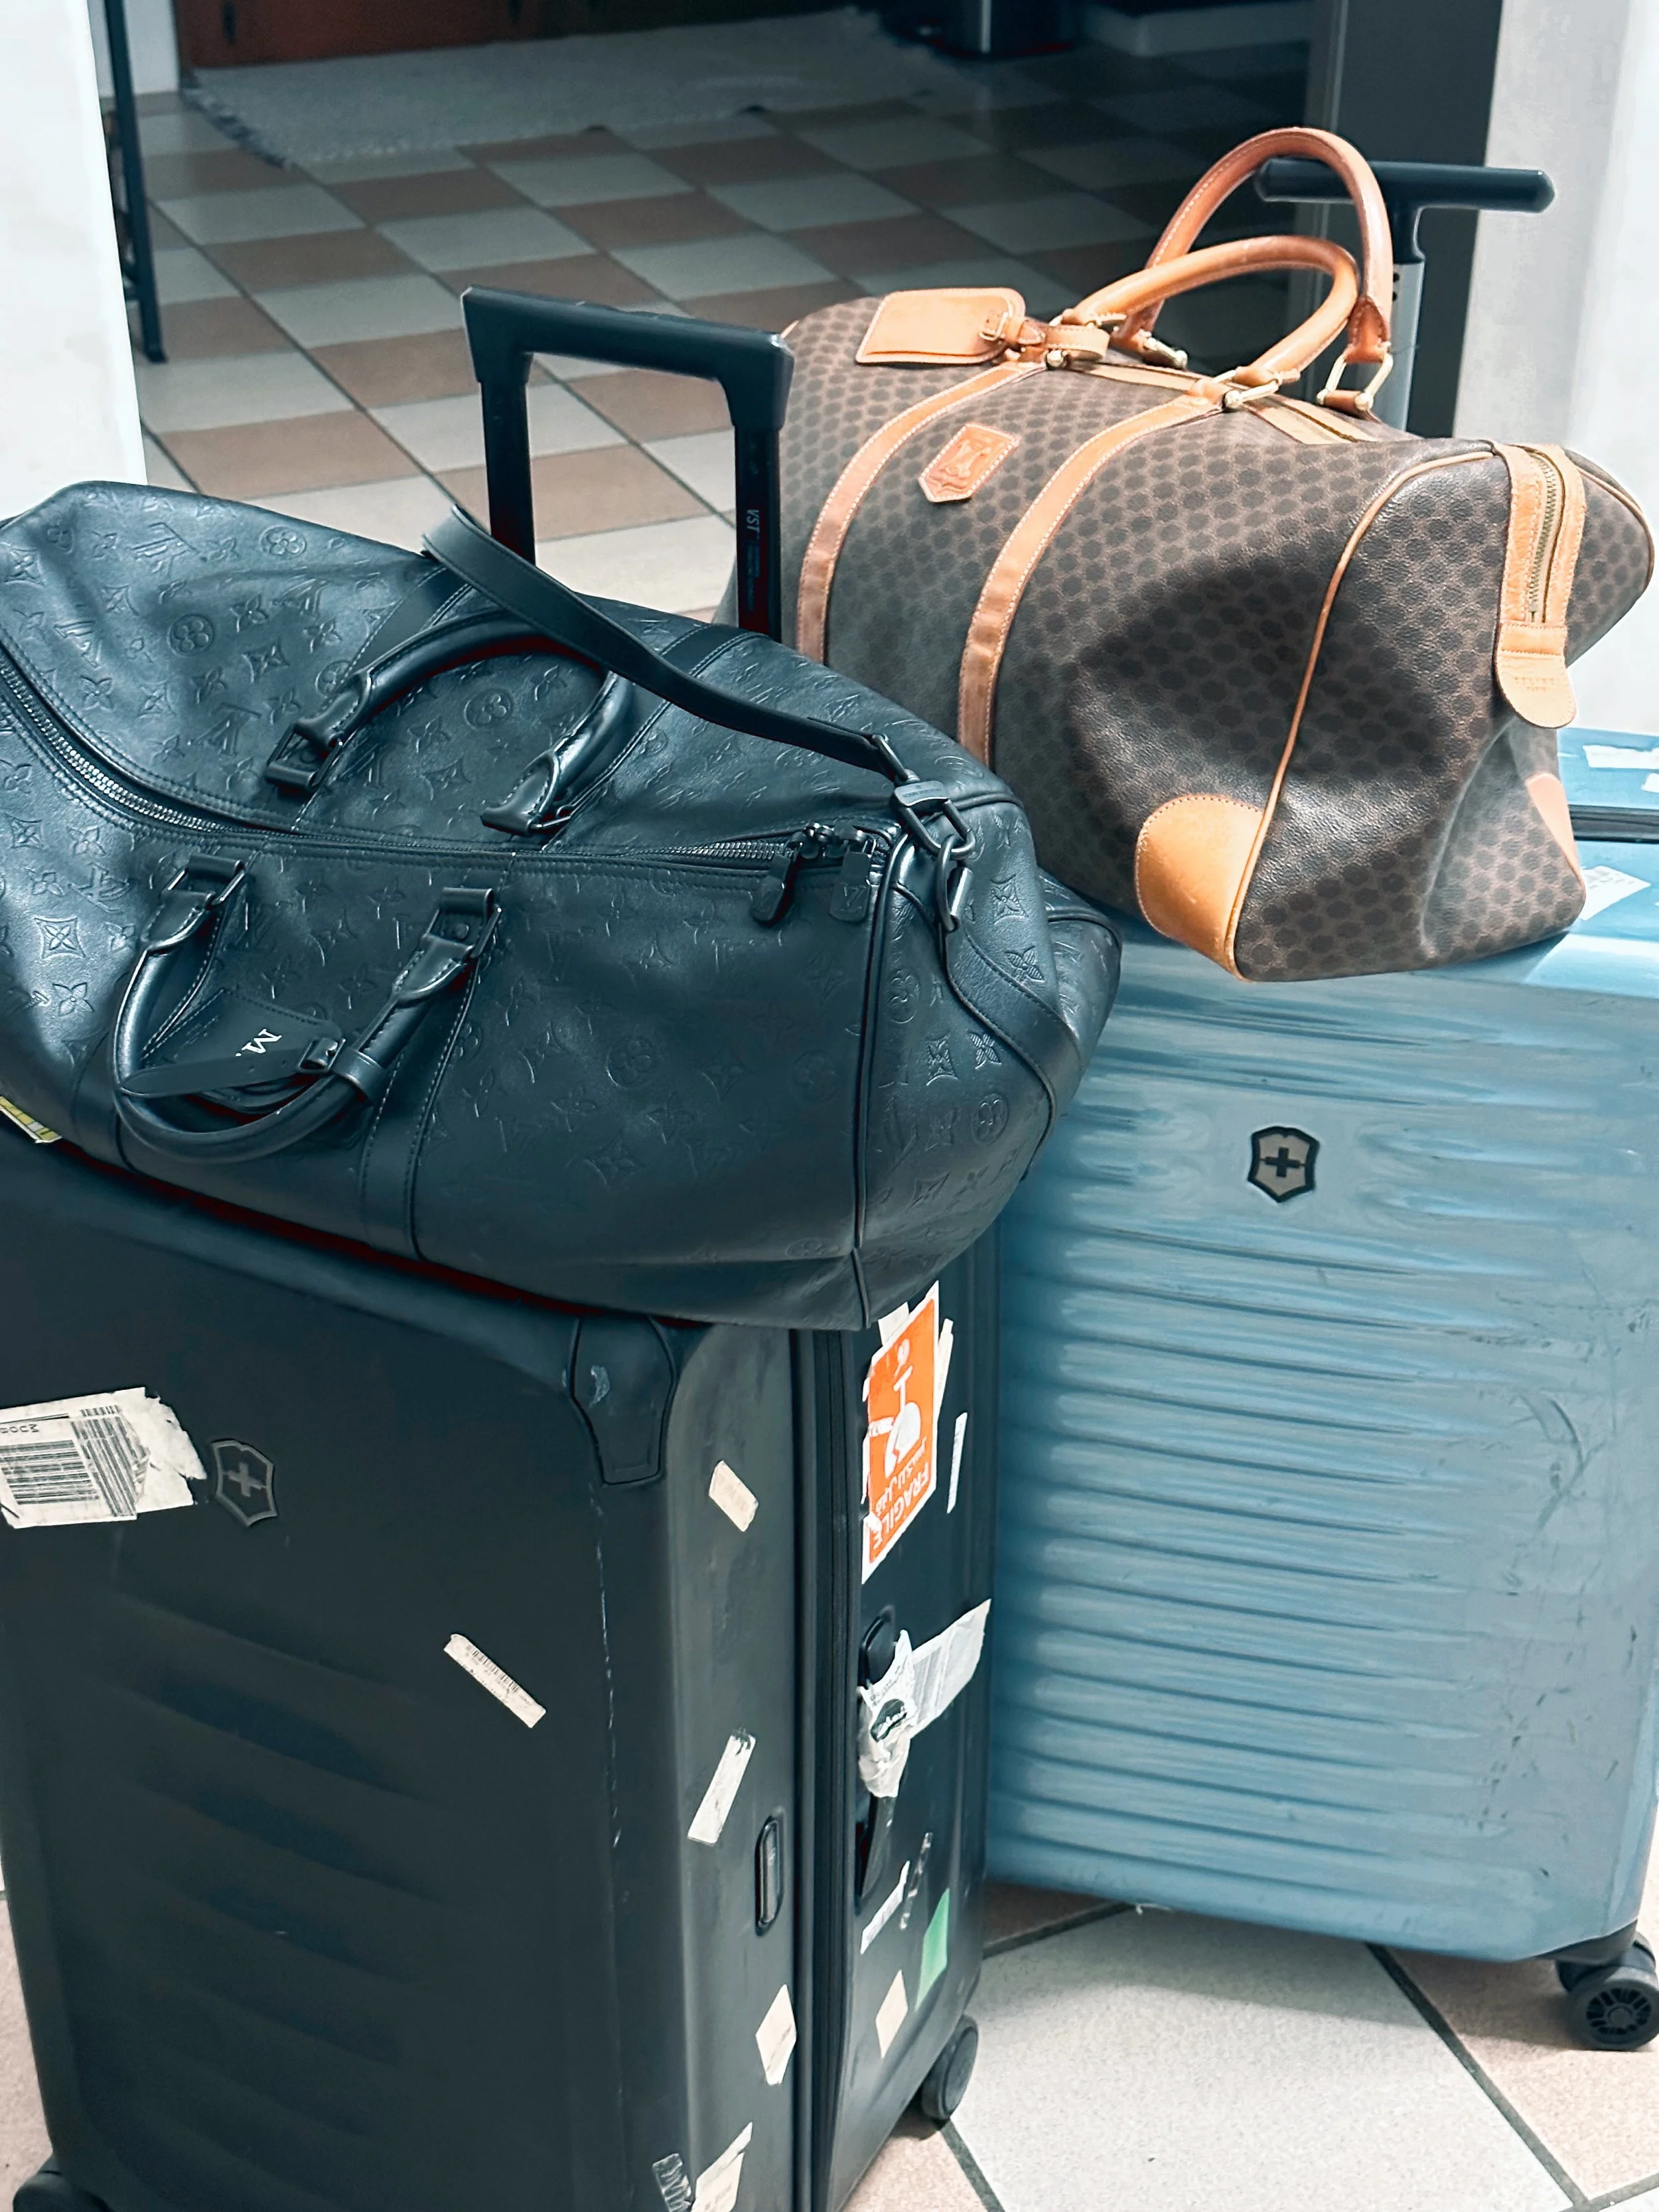
It’s at these thrift stores that I found some of my designer bags and sturdiest clothes, so don’t let the price point fool you! It’s definitely worth bringing an extra empty luggage for. (Or buying one, like Martin did. Haha!)
The thrift shops I keep coming back to are Jolly Clan and Anchor, because they just have the right selection that suits my style. You can also find a Book-Off+ that sells clothing.
Nitori

Nitori Japan
This is an absolute haven for titas (and now, moms) like me who love designing their own space! Japan’s ceramics are known to be some of the sturdiest, so you should definitely check this out while you still have luggage space.
It’s also perfect for pasalubong, in case you have relatives or friends who are interested in Japanese ceramics or pottery. Niitori is a chain brand, so you can find these in several places across Japan.
Day 3
Kobe for Kobe beef

Kobe beef
On our 3rd day at Osaka, my family was feeling spontaneous (and hungry) so we took the train to Kobe for – you guessed it – Kobe beef!
We chose the restaurant Kobe Meriken Hatoba, since it was one of the highest rated restaurants serving authentic Kobe beef in Kobe itself. Other than 200g of Kobe beef, the course came with oysters, a salad, rice, dessert and complimentary shots for me and my siblings! Kanpai!
The beef was so delicious and tender, it nearly melted in my mouth. The oysters served were also very fresh, and it was presented in such a beautiful way.
The owner and chef prepared the dishes himself, and even came out to greet and take pictures with us. We all got a card that we can use for a discount on our next visit. Overall a great experience that was worth the side trip!
Fushimi Inari
Fushimi Inari in Kyoto
Next, my sister, my mom and I headed to Fushimi Inari in Kyoto. As expected, there was already a huge crowd when we got there. The entrance had even more shops and stalls for food and souvenirs than I remembered on my last visit! Hopefully this will improve their tourism.


The large, red torii gates were so beautiful up close, and even the narrowing passage of gates didn’t make me feel claustrophobic. They’re lined up one after the other, but they were positioned in such a way that you can still exit the trail any time.
The trail goes all the way up to the top of Mount Inari, but we went down halfway through because we needed to meet up again with my dad and brother. Conveniently, this is located near a JR station as well as a Kintetsu station, so we were able to go to our next destination with just one train ride!
Toji Temple

Image courtesy of “ https://toji.or.jp/en/" All rights reserved to the original owners
Our last stop before dinner was Toji temple, which thankfully wasn’t closed yet! There were also not many people here, which is surprising even though the temple grounds are really spacious.
This is probably my favorite temple in Kyoto, because the simplicity of the temple is so beautiful to me. The pagoda stands majestically, and although it has been restored, they managed to preserve most of its original architecture. This is a testament to the architectural strength of Japan even in ancient times.
At Toji temple, there’s a flea market held at every 25th of the month, so expect a large crowd when that happens! You can also join in on the fun by going shopping at this time. You might just find a hidden gem!
Entrance to the temple grounds is free, and you can pay Y800 to enter the majestic garden area. I’d say it’s well worth it!
Toji temple is located near train and bus stations, so it will be easy transferring to and from here for your commute.
See Kyoto’s Icons in One Epic Day
From golden temples to bamboo forests and red torii tunnels, ride in comfort and witness 3 World Heritage Sites in 1 tour.
Starts at just $128 per person
Day 4
Kanazawa

Kanazawa Japan
For Day 4, we check out of our Osaka hotel and start the trip to Takayama using our Hokuriku-Takayama pass. We experienced a bit of a delay due to bad weather, so we found ourselves making a pit stop in Kanazawa before heading to our destination.
I’m so glad we ended up here, because this place is just so charming! It’s on the quieter, more urban side of rural Japan, even though we were at the Kanazawa Market. Rows and rows of seafood stalls made it so tempting to just buy all of them… but I ended up with the usual salmon sashimi bowl instead! I made sure to try some udon and crab from my sister and my dad, though.
With some time to spare, we went to Kenrokuen Garden nearby. An entrance fee of Y320 grants you access to the entire garden already, which is beautifully crafted and maintained. In the middle of the garden sits a huge lake, undoubtedly a great spot for pictures in the winter.
It’s a breath of fresh air – literally – amidst the busy days we had in the bustle of Osaka. The view of the beautiful garden is complete with a gold leaf soft serve they sell nearby. Yum!
Shirakawa-Go, Takayama

Shirakawa-Go, Takayama
We finally made it to Shirakawa-Go, a UNESCO World Heritage Site famous for its gasho style houses. In the winter, these houses are good at keeping out the harsh, cold weather, which they need to be because this place was cold even in the summer!
Located in the heart of the mountains, Shirakawa-Go makes for a pleasant, charming visit that offers a different experience of Japan.
Here, rice fields spanned across the area, mostly behind the gasho houses. You can actually stay in some of them overnight for a fee, but some are quaint restaurants or shops, while others are privately owned.
I’d love to visit Shirakawa-Go again when they have the Doburoku Festival for bountiful harvest, or the much awaited Winter Light-up in January and February!
Travel in Style with LEVEL8
Premium luggage trusted by travelers worldwide.
Click the banner!

Check-in at Hotel, Dinner
Afterwards, we went to our hotel Courtyard by Marriott and checked in for the night. We went out for dinner as it was our last night as a family on this trip; who knew when we’ll be complete next?
Courtyard by Marriott Tokyo Station


Image courtesy of “ Courtyard by Marriott Tokyo Station " All rights reserved to the original owners
Book Here : Link to Booking page
Dinner was full of seafood once again, but this time we ate at a restaurant called SAPPORO (?). They specialized in snow crabs, so of course we took the chance to try it in all sorts of styles!
It was hard to decide which one I liked best, since all of the dishes were delicious. The crab meat came off the shell very easily, which shows just how carefully and skillfully the chef had cooked it.
For its price point per person, I’d say it’s a bit on the higher end, especially since I have tasted fresher seafood at other markets like Kuromon and Nishiki. Nonetheless, my family and I went back to the hotel afterwards with happy tummies.
Day 5
Pasalubong Shopping at Nagoya

Nagoya is a major city in central Japan
We spent our last day of this trip as a family in Nagoya, shopping for pasalubong as a Filipino does.
Our first stop was Don Quijote, where we did a haul of KitKat, Biore, skincare products and other goodies you can imagine. We had to reach the tax-free minimum, after all!
It helps that our hotel was just a short walk away from a MEGA Don Quijote, which, as the name suggests, is even bigger than the usual branches of the chain. They’ve got everything you could possibly need, but remember – you can only use these products after leaving Japan! Otherwise, they will no longer be tax-free.
My next stop was Bic Camera since I needed a new camera at the time to replace my old friend. They have cheaper prices here, and they are more reliable when it comes to the extent of the products they offer.
Sure enough, I went home with a new handycam from Bic Camera! It’s also tax-free for a minimum purchase of Y5000. I just wish I was able to use the Klook voucher for my purchase. I’ll just use it next time.
Transit to Chubu International Airport

Nagoya Chubu International Airport
After stuffing everything we possibly could into our luggage, we checked out of our hotel and took a taxi to the Nagoya Chubu International Airport. Alternatively, you can also take the train, but we were just too tired! We were also traveling with our parents, so we had to consider the travel for them.
Here, we said goodbye to my brother and sister, since they had 2 more weeks in Japan. There are many restaurants to eat at and shops to explore in Chubu Airport, including a gashapon area for toy capsule collectors.
We ate a bit before checking in our luggage, and prepared for a long flight home. Goodbye, Japan! It was a fun family trip after a long time.
We stayed at 2 different places for this trip. For the first 3 days, it was better to stay in Osaka since it was central to many of the places we wanted to visit.
On the 4th day, we had to leave for Takayama, so we had to bring our luggage with us. We left these at a coin locker in Kanazawa so that we weren’t lugging them around, then came back for it sometime after visiting Shirakawa-go.
Quick Tips
Local SIM card
Having wifi on you all the time is a must when you’re traveling anywhere nowadays. This is especially true in Japan, even though wifi is available pretty much anywhere.
Personally, I prefer a SIM card over renting a pocket wifi now because it’s one less gadget to charge and worry about while on the go.
I recommend having one SIM card for everyone in the family when on a trip, so that everyone is contactable regardless of location.
Just click the banner!

Train tickets
KIX to Osaka/Kyoto

Train Station in Osaka, Japan
The cheapest, convenient way to get to and from the Kansai International Airport is through train. There are two types you can avail of:
Nankai Express Train
Image courtesy of “ https://www.nankai.co.jp/en_railway/traffic/express/rapit.html " All rights reserved to the original owners
Operated by the Nankai Railway company, tickets for this train are easily available on Klook for YPRICE per adult, and YPRICE per child.
Experience Mount Fuji Like Never Before
Five epic stops. Legendary pagodas. Instagram-famous streets. And that surreal view of Fuji towering behind Lawson.
Starts at just $53 per person
JR Haruka / Hello Kitty Haruka
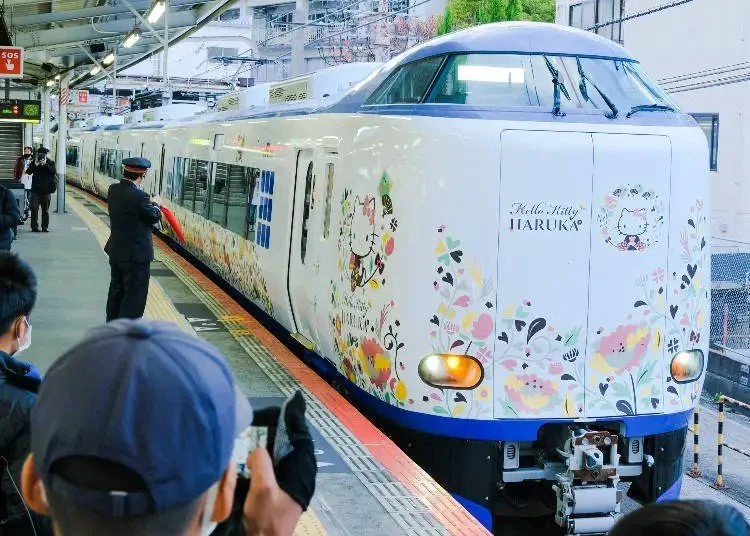
Image courtesy of “ https://livejapan.com/en/in-kansai/in-pref-osaka/in-kansai-airport/article-a2000698/ " All rights reserved to the original owners
Another company offering rapid train services to Osaka and even Kyoto is the JR Line. You can also buy a ticket on Klook for YPRICE per adult, and YPRICE per child.
If you’re lucky, you just might chance on the limited edition Hello Kitty-themed Haruka train!
Hokuriku-Takayama Pass
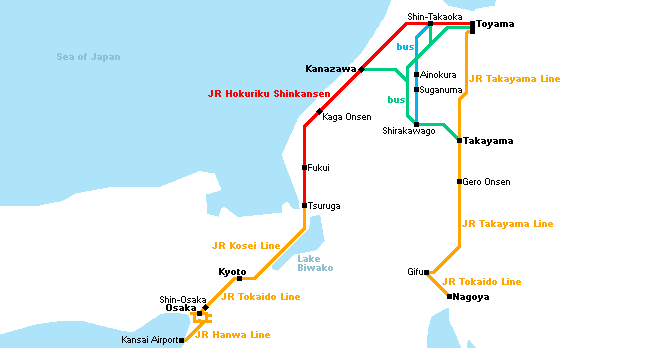
Image courtesy of “ https://www.japan-guide.com/e/e2361_takayama_hokuriku.html " All rights reserved to the original owners
We used the Takayama-Hokuriku Pass which went well with our itinerary since this is valid for 5 consecutive days! The pass covers select trains from Osaka to Takayama and Nagoya. It already includes the train from Kansai International Airport to Osaka and vice versa, so you won’t have to purchase a separate ticket for this.
Part of the reason why we got this was because it already covered the transportation needed to get to Shirakawa-go in Takayama, including the bullet train, limited express trains and bus lines on the route from Osaka.
If you’re using this itinerary, I recommend getting this pass! It’s available on Klook for YPRICE only. Just present your purchase voucher at the JR Office once you arrive at Kansai International Airport
ICOCA

ICOCA is the transportation card
You probably know of Japan’s transportation card system; we have an entire article just for that if you want to know more about it! But first, the ICOCA is the transportation card sold in the Kansai region. You can use it in most train and bus stations with electronic gates or payment systems in Japan. This comes in handy when you’re traveling, so that you don’t have to buy a ticket every time you go anywhere. Just tap and go, bestie!
You can buy an ICOCA at most stations in Japan. Go to the ticketing office and say ‘ICOCA,’ they’ll know what you need.
Want to visit the Philippines?
Are you ready to enter a tropical paradise? Book that much deserved beach vacation and skip the hassle of planning with Dream Philippines Tours. We’ll make sure that you get the very best beach experience wherever you choose to go. Dream Philippines Tours connects you to nothing but the best accommodations, services, and activities. Let Dream Philippines Tours handle all your planning concerns so that all you have to do is sit back, relax, and feel the seabreeze on your skin.
Ending Notes

Solhaugen Family in Japan
Overall, this was a fun family trip that helped me discover more about my family’s traveling habits now! It’s very different from when we last traveled altogether, but that’s what happens when you are growing older.
Looking for the best travel hacks?
We've put together a list of our top travel essentials, packed with tips to help you travel smarter, cheaper, and more conveniently. Click the the button below.
We had to consider that our parents were traveling with us when we planned the itinerary, so we couldn’t have long walks or visit any areas that were far from a nearby bus or train station. We also had to take the taxi sometimes, because it just made more sense when traveling as a group.
While the trip felt a bit cramped, it’s also expensive to stay in Japan when there’s a lot of us. Next time, we’ll plan even better so we can have 2 weeks there! ;)
That’s all for this itinerary! Let me know if you’re using it by tagging us in your travel logs. We check the tag #MarveMadeUsDoIt for our followers and readers who use our itineraries and guides. See ya, Marvekada!